The Apple company is legendary. Have you heard that it was estimated a trillion dollars in 2019? It’s been founded by Steve Jobs, Steve Wozniak, and Ronald Wayne in April 1976 to develop and sell Wozniak’s Apple I personal computer.
The company continued its tremendous success with the iPhone which was released to the market in 2007. And their work is hard to call overestimated. It has gained a reputation of a corporation producing the top software for people’s daily needs and for the realization of creating projects. For the latter, the company has especially succeeded. The software of Macs is used in the top-recording companies and all the creative people are loving’dreaming about a Mac computer and the possibilities it can give to designers, artists and, of course, vocalists.
You may also like: 15 Best microphones for iOS (iPhone & iPad)
Though the iOS has always been en extremely closed system and that’s why many users have a hard time with it. It can be quite tricky to set up new gear for your iMac. In this article, you will find step-by-step instructions on how to do it in an effective and easy way.
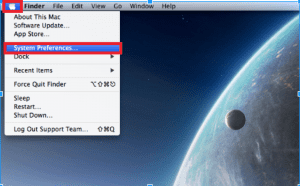
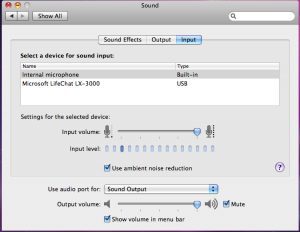
You need to find your microphone on the list, click on it and then proceed to the output. There you also have to click on the mic. Then you go to the input section. There you will see an input level and the volume leverage. With those, you can make the basic settings for your microphone and thus it should work on your Mac.
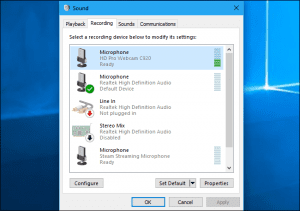
It can be the case that you might not see the audio interface in the list of settings. In this case, you need to check if your audio interface is properly connected. Make sure it’s plugged directly into your Mac rather than a USB hub.
You may also like: How to set up your microphone for recording
